
How it works
This guide is about the BeatOps desktop app, where you publish beats you have already exported. Working from your DAW instead? See DAW Plugin (BeatOps Release).
The app saves you the most time when you do the slow part once. You set your naming, your templates and your producer tag a single time. From then on, each new beat takes three small steps: save the WAV, put it in your beats folder, and click Process & Upload.
This guide uses YouTube and BeatStars as the example, since most producers use those two. SoundCloud works the same way.
Set up once
You only do these steps one time. Every beat after that reuses them.
-
Pick your beats folder
Go to Settings → Folder Paths and choose the folder where your beats live. Each beat gets its own subfolder inside it. See Folder Structure. -
Set your filename format
Go to Settings → Filename Format and pick how you name your files, for exampleTitle_BPM_Key_Artist1_Artist2. BeatOps then reads the title, BPM, key and reference artists straight from the filename, so you never type them. See Filename Format. -
Connect YouTube and BeatStars
Go to Settings → Platform Connections. YouTube connects with one click. BeatStars connects with your login. -
Build your default template set
Open the Templates page. Set your YouTube title, description and tags, your BeatStars listing text, and your thumbnail style. In Template Sets, choose which platforms to upload to and mark the set as your default. Every new beat then gets it automatically. See Template Sets and Template Variables. -
Choose where thumbnail images come from
Go to Settings → Image Source. Use your own image folder, or automatic image search with a free SerpAPI key (how to get one). You can also drop an image into a beat's folder yourself. -
Let the upload run without questions
Go to Settings → Workflow and turn on Auto-approve images. If you use image search, also turn on Auto-select images. Now BeatOps does not stop to ask you to review thumbnails. -
Optional: add your producer tag
In Settings, under Publishing → Producer tag, upload your tag and save it as your default preset. Set Auto-tag on upload to Always use my default tag. BeatOps then makes a tagged MP3 on every upload, for YouTube and as your BeatStars preview. Buyers on BeatStars still get your clean master.
This is the part that takes time, and you do it once. You can change any template later, and the change applies to every beat you upload after that.
Then, for every beat
-
Export your WAV with the right name
Name it in your filename format, for exampleMidnight_140_F# Minor_Travis Scott.wav. BeatOps reads the title, BPM, key and artist from that name. A WAV is all you need. Read more about filename formats. -
Give the beat its own folder inside your beats folder
Make a new folder for this beat inside your beats folder, and save the WAV in that folder. One folder is one beat. A WAV loose in the beats folder itself is not picked up. Stems are optional: put them in astems/folder inside the beat's folder. For example:
No time to make a folder? Drag the WAV onto the BeatOps dashboard. BeatOps makes the folder for you. The new beat shows up on your dashboard. If it does not appear yet, click Sync. Read more about folder structure.beats/ Midnight/ Midnight_140_F# Minor_Travis Scott.wav stems/ -
Click Process & Upload
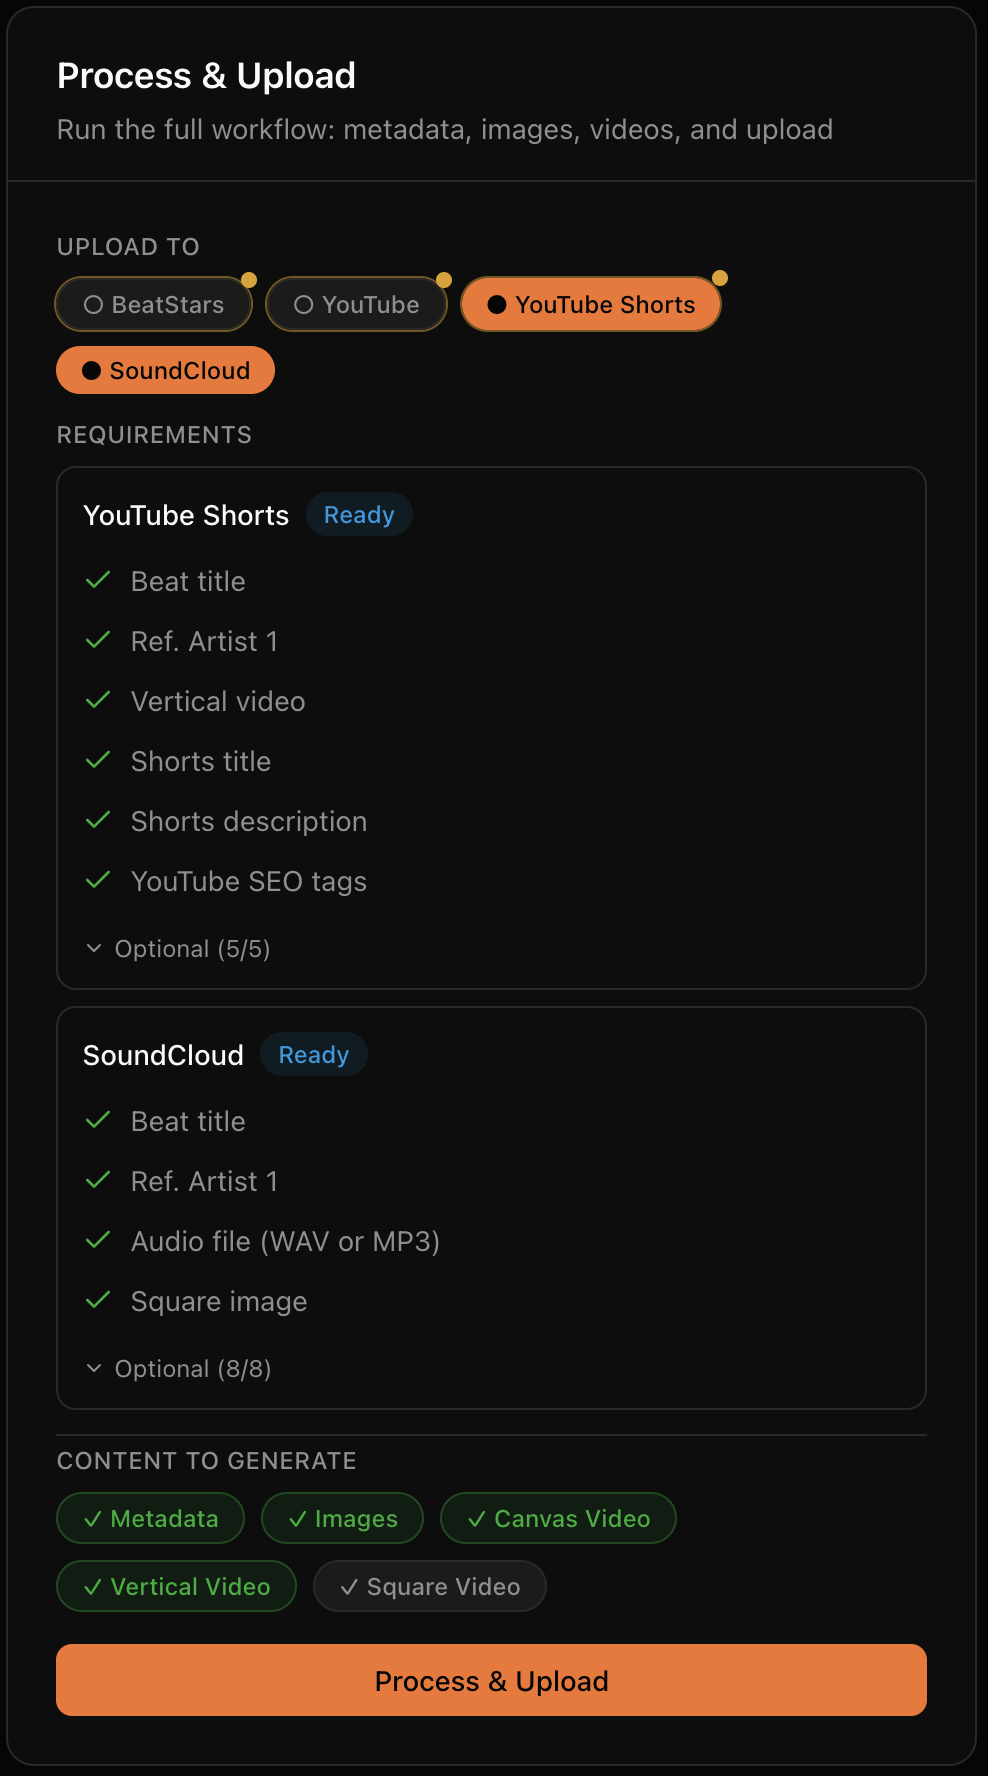
Open the beat and click Process & Upload. BeatOps detects anything your filename did not include (like BPM or key), fills your templates, makes the thumbnails and video, adds your tag, and uploads.
Even faster from your DAW: with the BeatOps Release plugin you skip steps 1 and 2. You send the finished beat straight from your DAW into your beats folder.
What you get
- A YouTube video with your title, description, tags and thumbnail, all from your templates. Add a YouTube Short too if your template set includes it.
- A BeatStars listing with your producer-tagged MP3 as the preview, your clean, untagged master WAV for buyers, and your stems if you added them.
- A producer-tagged MP3 of your beat, made from your master and used on YouTube and as the BeatStars preview. Your master file stays untouched.
- Your beat, exactly as you saved it, in your beats folder, with the thumbnails next to it.
If a beat does not upload
The Process & Upload panel lists anything still missing, such as a reference artist the filename did not include or a platform that is not connected. Fix that one item and click again. For errors, see Common Issues and FAQ.